Publication View
1. Unit Objectives
In this unit we will give you an overview of the Publication View. We will also show you how to create a new document from scratch from this view.
2. Publication View
All DOC1 Series 5 applications have a high level Publication object. When a new Publication object is created a new single document is also created as we have seen in the Offer Letter, Response Letter and Summary Statement publications.
However, when the Publication view displays new documents can be added to the publication, or if existing documents have been made public these can also be included.

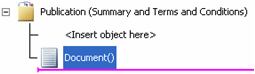
- 2. In the logic map, double-click on Publication ().
- 3. Label, type, Summary Statement.
- 4. Data Map, click
 .
.
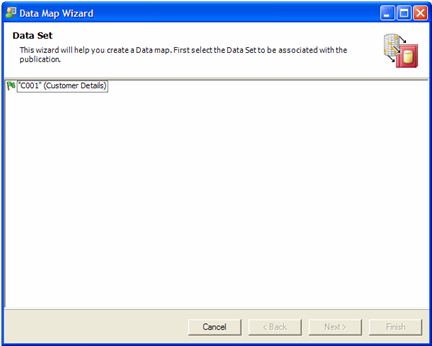
The Data Map Wizard will appear. We must map the Data Aliases we just created with Data Fields from our sample data file.
-
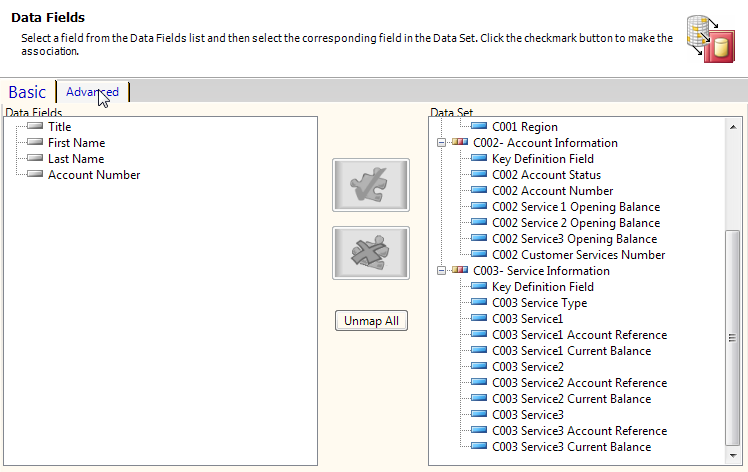
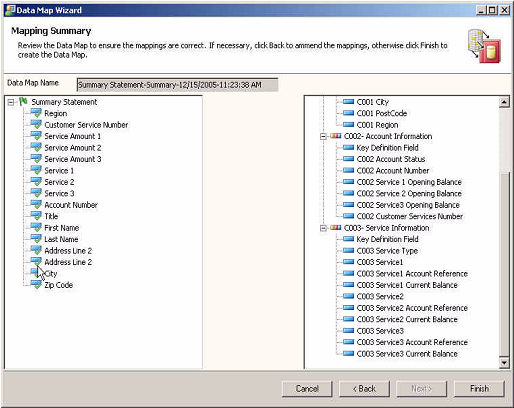
4. As you have done before, match the fields from the Data Fields list with the fields from the Data Set list according to the table below.


3. Creating New Document
You may want to break down your publication into multiple documents if, for example, you need to select a document type conditionally or if you have a range of distinct document types that can be used within several different publications.
Next we are going to add a new document to this publication.
- 2. From the main menu select Insert/ Document/ New.
- 3. In the logic map, double-click the second Document().
-
4. Label, type, Terms and Conditions.
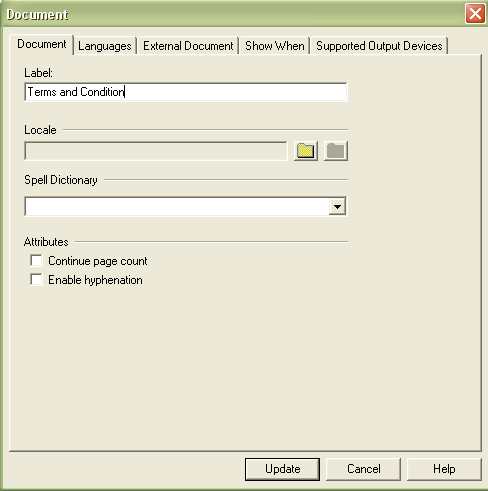
Next we are going to open the Terms and Conditions documents we just created and add the terms.
4. Data in the Document
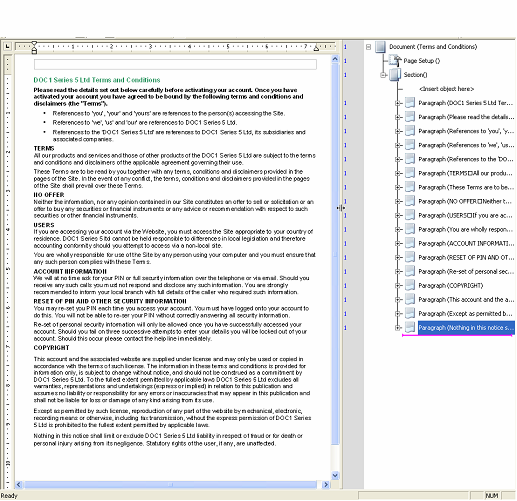
In this next section we are going to go back to the first document and view the data within the document.
- 1. Mark your insertion point at Document().
- 2. Right click on the logic map and select View Document.
- 3. On the icon menu, use the Next Data Set icon to move through data sets.
