Document View
1. Unit Objectives
In this unit we will discuss the publication architecture. We will create a project that will contain a publication. The Offer Letter that we are creating will use word processing functions such as typing text, bolding, and centering. A majority of the content will be imported using the import RTF function.
2. Publication Architecture
The publication is made up of many parts. The users will use various views to create and modify various parts of the publication. The diagram shown will illustrate the hierarchy/relationship between the various parts of a publication.
The section is the primary part of the document where the user would be creating the content of the document i.e. inserting paragraphs, images and tables.
A publication is everything that goes into an envelope. This would contain one or more documents for example, cover letter, policy certificate and terms and conditions.

3. View the resources using the project explorer
The Work Center Manager is designed with different categories, which correspond to the objects listed in the navigator view.
There are six different categories: Design, Administration, Data, Production, Project Explorer and Environment.
Within each category are bars which further organize the resources, for example to find a sample data file click the Data tab and the Sample Data bar, then locate the required project folder.
4. Starting a Project
A Project can be created to manage and maintain all resources and objects in a specific publication. A project can contain sub-projects allowing for a higher level of detail management. We will be creating a Project called Company Letters.
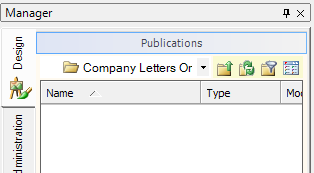
5. Starting a Publication
To get us started in the creation of the document we will create a publication called Offer Letter. This publication will go within the Company Letters project folder.
- 1. From the main menu select File/ New Publication.
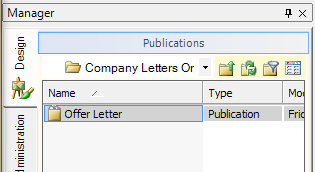
- 2. Type, Offer Letter.
- 3. Double-click, Offer Letter publication.
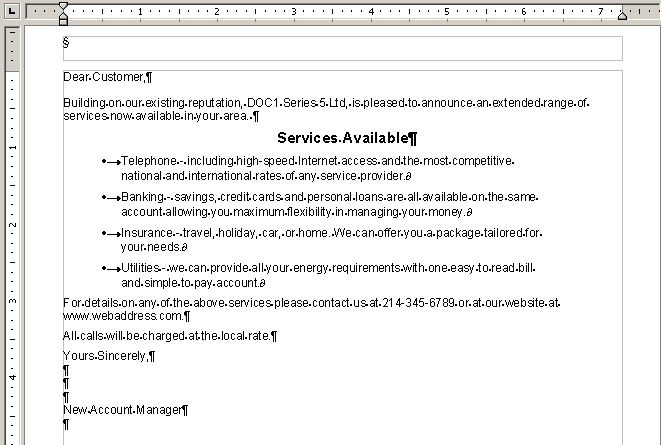
6. Body Text
We will start creating this letter in our Design Editor. We will begin with the salutation, create the body and end with the closure.

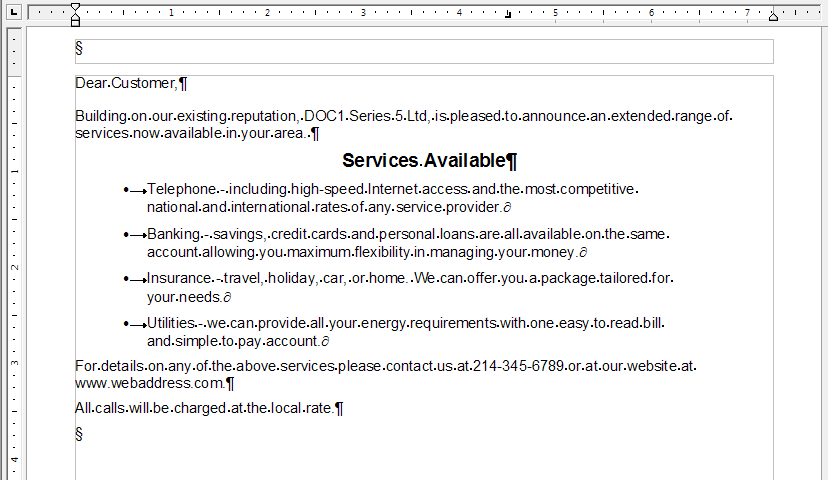
7. Importing RTF (Rich Text Format) Files
It is possible to include RTF content that was created outside of Series 5 directly into your application. The formatting of the RTF such as text, fonts, colors, tabs and justification are included when it is imported. In addition, if the RTF has tables it will also be imported into your application as a table.
The contents of the letter has already been created and saved as *.rtf files. Instead of recreating the text we can import the *. rtf . files saving time.
 .
.