6 Variable Content
1. Unit Objectives
In this unit we reuse the page setup logic from the Offer Letter publication. We will create a Response Letter with Show When paragraph properties. In addition we will introduce the concept of indirect field references.

2. Duplicating a Publication
In this section we will copy and paste the Offer Letter to reuse the page setup for the Response Letter. The purpose of this is to highlight a modular approach to design documents within DOC1 Series 5.
3. Modify Document and Page Setup
In this section we will design new document body content reusing the page setup.
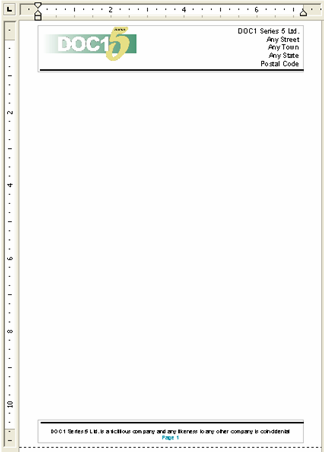
At this point the document view should only contain a single page with header and footer content.
4. Data Field
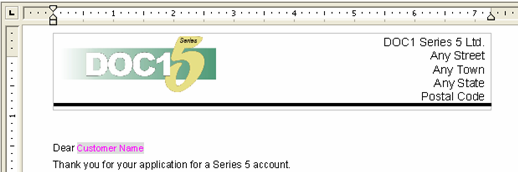
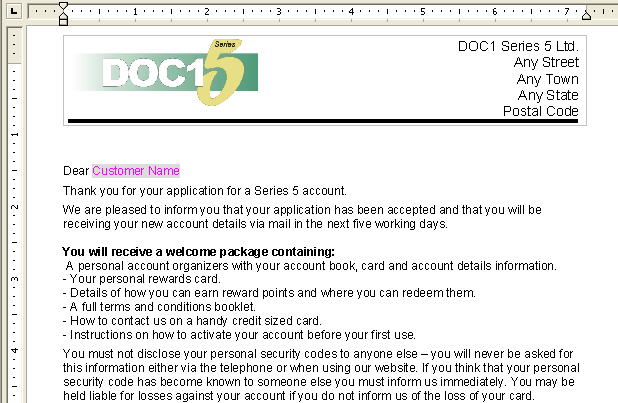
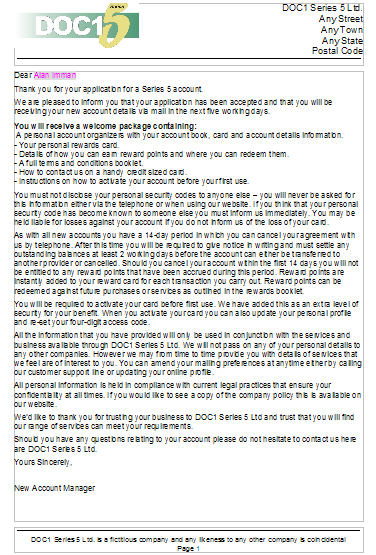
In this section we will import the body content of the document via a *.rft and add a data field for the customer name.
- 1. Mark your cursor in the document.
- 2. From the main menu select Insert/ Presentation Objects/ RTF.
- 3. Select Response.rtf.
- 4. Click Open.
- 5. Click Save.

The salutation requires the customer’s name that will dynamically change. Therefore we will need to build a dictionary to hold the Ailases.
- 1. Click Data tab, Data Dictionary bar.
- 2. Double click on Company Letters folder.
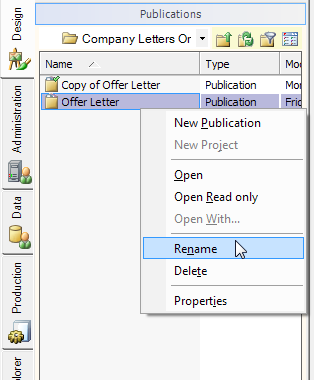
- 3. Click File / New Data Dictionary.
- 4. Rename to Response.
Now we will place a data field in our document and build an alias within our newly created data dictionary.
- 1. In your document mark your cursor after Dear. (ensure there is a space after Dear)
- 2. From the main menu select Insert/ Field/ Data Field.
- 3. From the drop down menu select the Response data dictionary.
- 4. Click New Alias.
- 5. Name, type Customer Name
- 6. Type, select String.
- 7. Example, type your name.
- 8. Click OK.
- 9. Select Customer Name.
- 10. Click Insert, Close.
5. Paragraph Show When Property
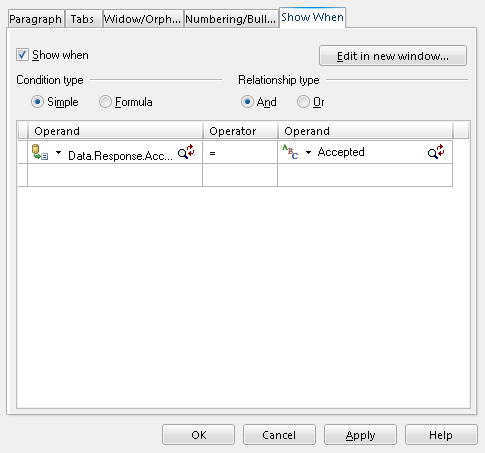
The imported letter contains paragraphs that will appear in a Response Letter. Depending on the status of the customer’s application they will either receive a letter that contains paragraphs pertaining to acceptance or pending the account application. This behavior will be driven by the paragraph Show When property. Some of the paragraphs will be used in both letter types. We will create a paragraph Show When condition for accepted accounts.
- 1. In the document, mark your cursor at We are pleased to.....paragraph.
- 2. From the main menu select Format/ Paragraph.
- 3. Click the Show When tab.
- 4. Click Show when checkbox.
- 5. Condition type, select, Simple.
- 6. Relation type, select, And.
- 7. Under the 1st Operand, click
 .
.- 8. Select Data Field.
- 9. Select the Response Dictionary.
- 10. Click New Alias.
- 11. Name, type Account Status
- 12. Type, select String.
- 13. Example, type Accepted.
- 14. Click OK, OK.
- 15. Under Operator, click
 .
.
 .
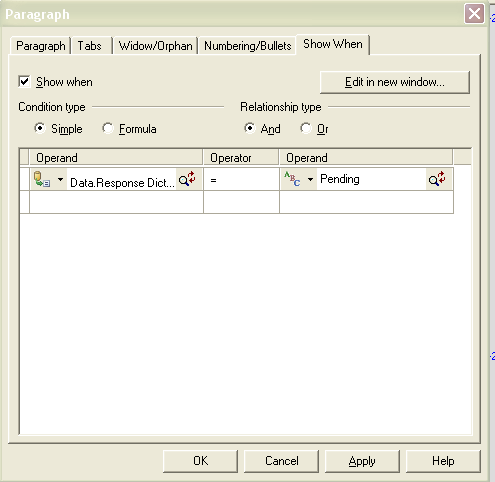
.We will create a paragraph Show When condition for pending accounts.
- 1. In the document, mark your cursor at Unfortunately we are unable.....paragraph.
- 2. From the main menu select Format/ Paragraph.
- 3. Click the Show When tab.
- 4. Check the, Show when checkbox.
- 5. Condition type, select, Simple.
- 6. Relation type, select, And.
- 7. Under the 1st Operand, click
.- 8. Select Data Field.
- 9. From the Response data dictionary, select, Account Status.
- 10. Click OK.
- 11. Under Operator, click
.

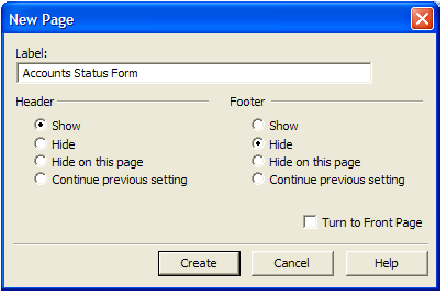
6. New Page
We are going to add a new page that will keep the header as is and disable the footers.

7. Case Tests
We will create the case test to determine if the customer will receive the Accepted Terms and Conditions form or the Pending Application form.
- 1. In the logic map, mark your insertion point at New Page (Account Status Form).
- 2. From the main menu select Insert/ Control Objects/ Condition/ Case.
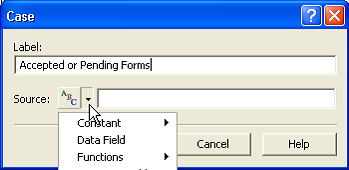
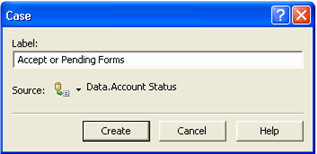
- 3. Label, type, Accepted or Pending Forms.
- 4. Under Source, click
.
Next we will create the individual case test for Accepted customers.
-
1. In the logic map, mark your insertion point at Case (Accepted or Pending Forms) <Insert object here>.
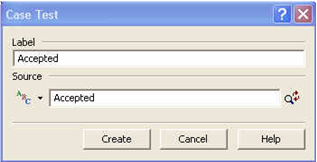
- 2. From the main menu select Insert/ Control Objects/ Condition/ Case Test.
- 3. Label, type, Accepted.
- 4. Under Source, click
.
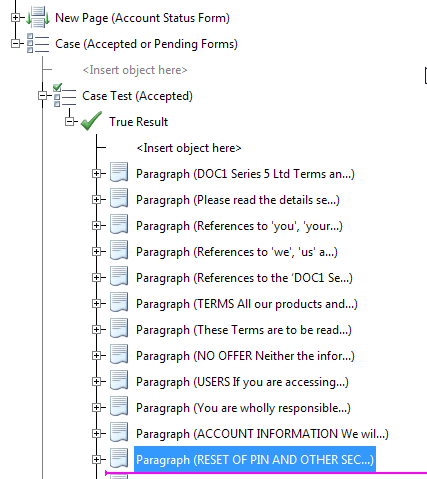
- 1. Mark your cursor at the Case Test (Accepted) True Result <Insert object here>.
- 2. From the main menu select Insert/ Presentation Objects/ RTF.
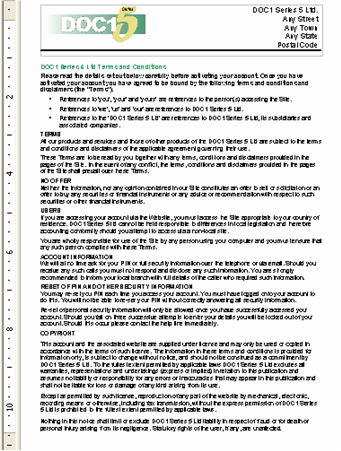
- 3. Select Terms.rtf.
- 4. Click Open.

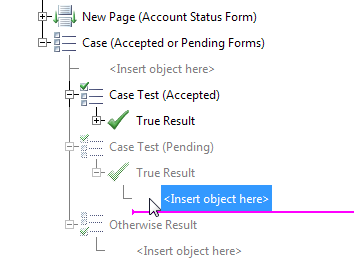
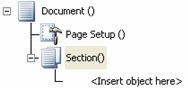
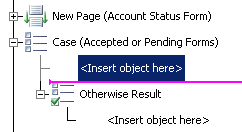
Your logic map should look like:
Next we will create the individual case test for Pending customers.

- 2. From the main menu select Insert/ Control Objects/ Condition/ Case Test.
- 3. Label, type, Pending.
- 4. Under Source, click
.
We are going to add the Application Form in the True Result.
-
1. In the logic map, mark your insertion point at Case Test (Pending) True Result <Insert object here>.