8 Handling Data
1. Unit Objectives
In this unit we will set record and field attributes to the sample date file and create a Data Format file that will store those definitions. In order to link the data aliases used in the Response Letter to the sample data, we will create a data map.

2. Record Attributes
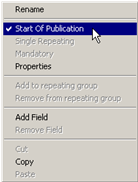
Start of Publication
The start of a new publication data set within the input data is indicated by the presence of a specific data element known as a start of publication record. In the production environment the presence of such records tells Series 5 to expect a new publication data set and to reload the appropriate logic. At least one element within a data format must be assigned this flag.
Mandatory records
By default, records other than those flagged as Start of Publication do not have to appear in every publication data set. Provided if fields within the record are used conditionally within document designs, they will simply be ignored when they are not present. However, it may be important to your document design to make sure that certain records are always present before attempting to process a publication.
Where this is the case you can flag such records as being Mandatory. If a mandatory record does not appear in a publication data set where it was expected, DOC1 Generate will abort.
3. Formatting Sample Data - Defining Records
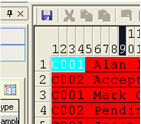
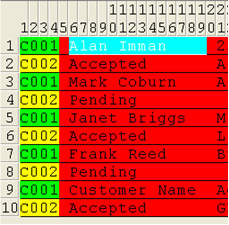
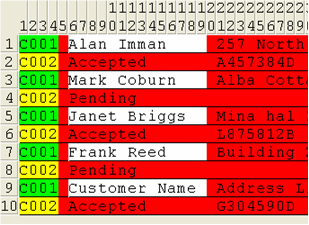
You should now be presented with the window below. Notice how all the fields are colored red. This means nothing has been defined. We will begin by identifying our records and then we will define our fields.

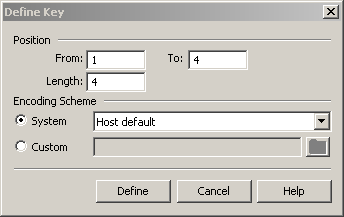
In this section we will set the position of our key records.
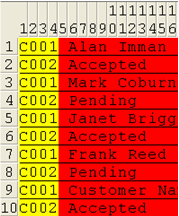
With the key record positions defined, the next thing is to identify the attributes of each distinct record. We are going to start by identifying record C001 as the Start of Publication. This signifies that Series 5 will begin a new output document every time it sees a C001 record.
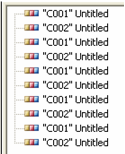
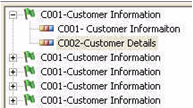
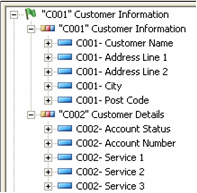
- 7. In the structure view, right-click “C001” Untitled.
- 8. Click Rename.
- 9. Type, C001- Customer Information
Continue with the C002 record by setting it to Mandatory. We are telling Series 5 that these records need to be in every data document.
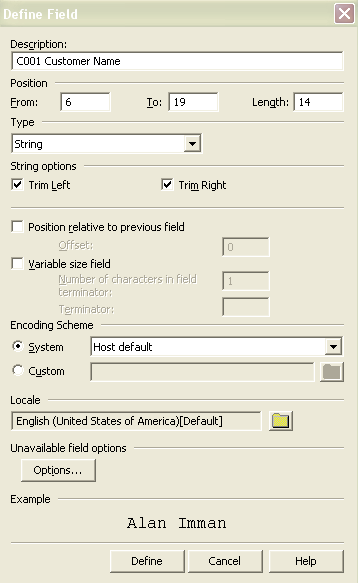
4. Formatting Sample Data - Defining Fields
Next we will continue by defining the fields for each record.

5. Creating a Data Map
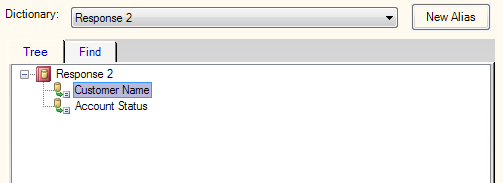
When you are designing publications you work with data aliaes to the records and fields that will be supplied by the input data file in the production environment. The actual data elements are defined in a data format file which uses a sample of the intended input data as a template. Before publishing, the data aliases within a publication, must be linked to the relevant elements in a data format using a data map object.
Once the data has been defined, we can continue by mapping the correct data fields in our definition to the data names in our data dictionary. Before doing that we must Issue it. By Issuing you mark the file currently active within the repository and make it available for use with a publication when it is published.
- 1. In the Work Center Manager click on Data tab, Data Format bar.
- 2. Double-click the Company Letters project folder.
- 3. Highlight, ResponseSample Data Format.
- 4. From the main menu select Task/ Issue.
- The data format is now available to the data mapping software.
In this section we will create a data map.
- 1. In the Work Center Manager click on Data Maps bar.
- 2. Double-click the Company Letters project folder.
- 3. From the main menu select File/ New Data Map.
- 4. Rename the new data map ResponseLetter.
- 5. Press Enter.
- 6. On the far right hand side click
 .
.
This will open up all the Data Format files.
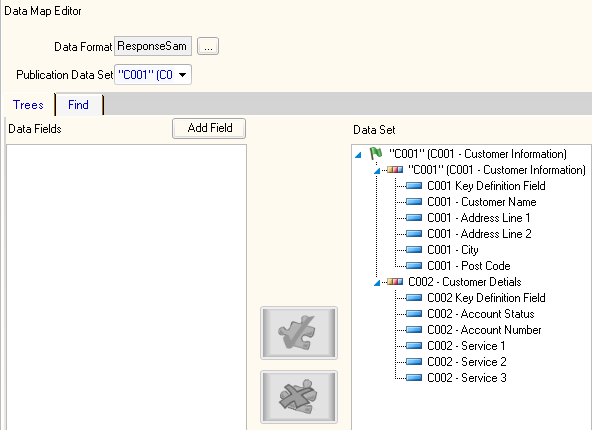
You will be presented with the Data Map Editor. Next we will match our data with our data dictionary we created earlier. Notice how the Publication Data Set and Data Set sections are populated.
 .
.
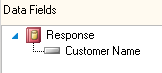
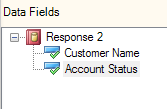
In this section we will map the datafields to the data set.
 .
.
All the data fields should have check marks next to them. This completes the mapping of the data aliases to the actual data sets.
By Issuing you mark the file currently active within the repository and make it available for use with a publication when it is published.